Qwen Image Edit 2511 を使って線画に着色
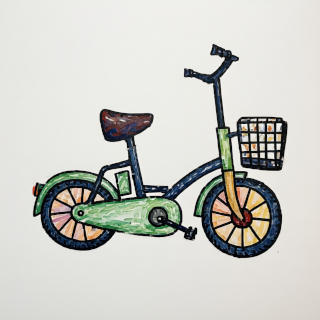
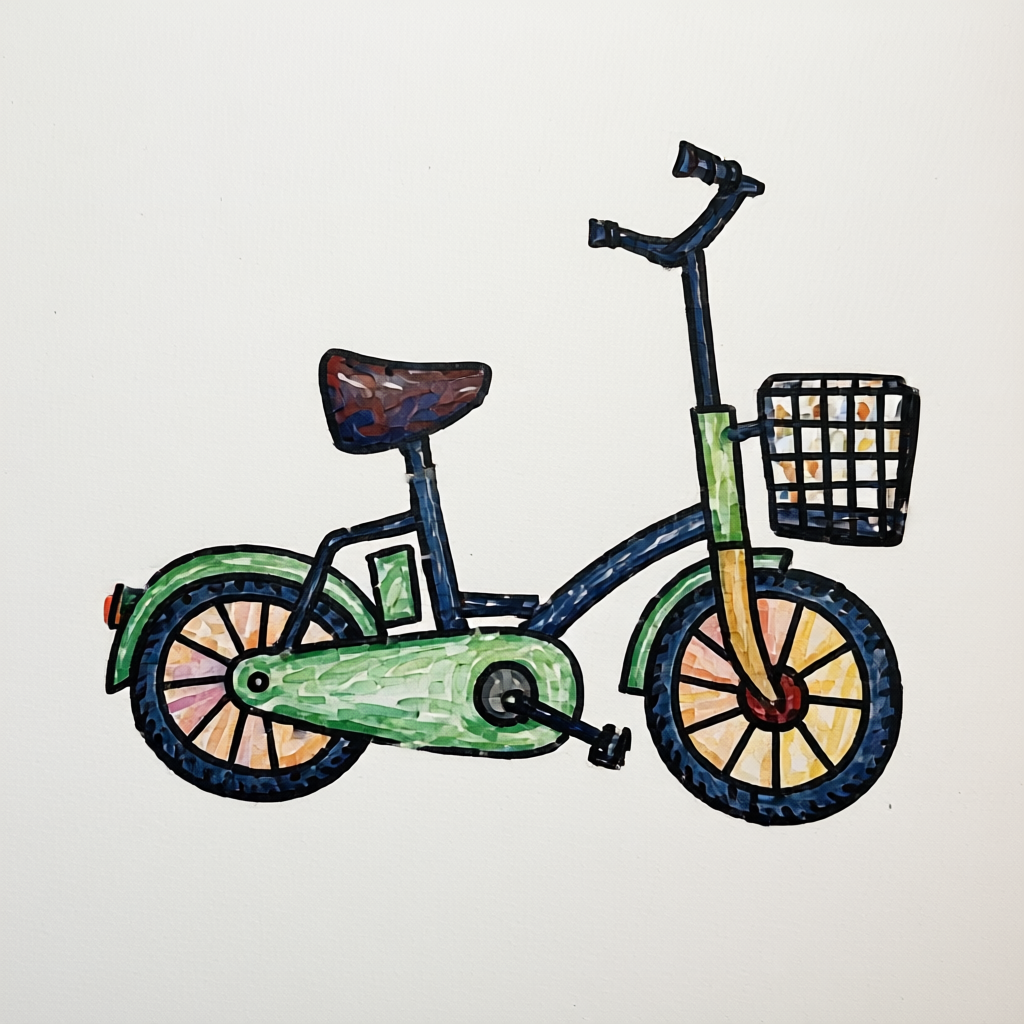
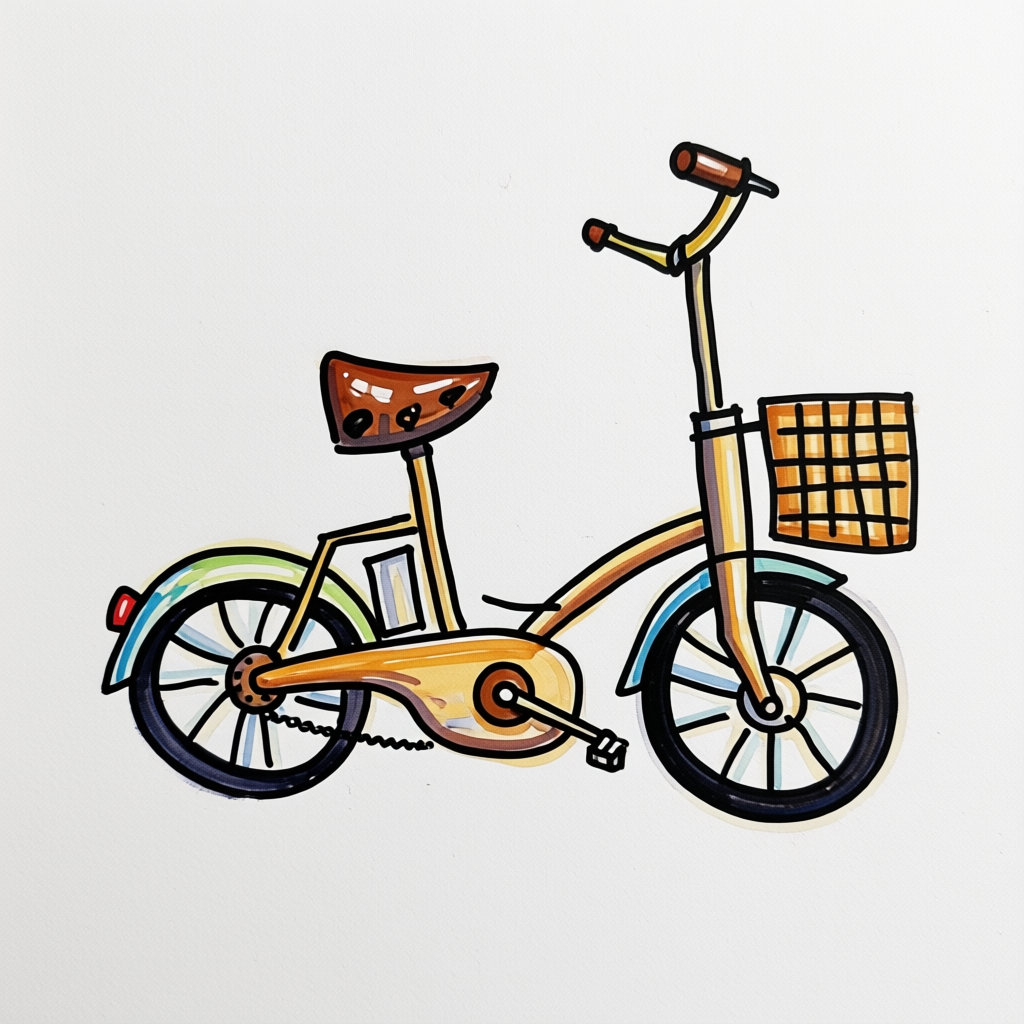
nano banana で線画に着色してもらう実験をしていて わりといい感じに変換できたので、オープンウェイトモデルで 同じことできないか調査した。 Qwen Image Edit https://huggingface.co/Qwen/Qwen-Image-Edit-2511 でそれができるとの情報を得たので試した。
元絵はこれ:
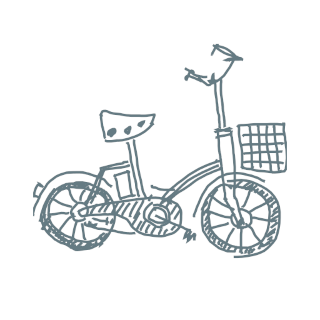
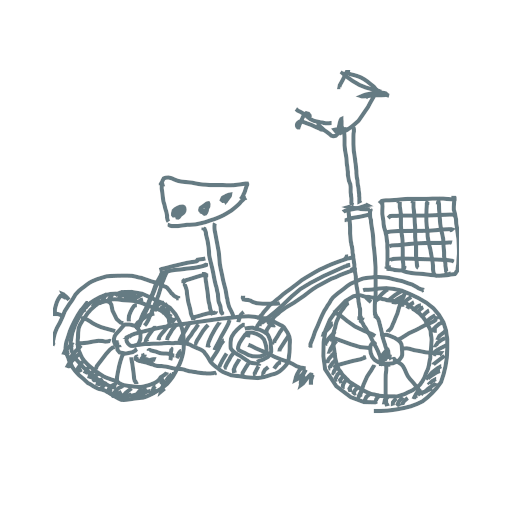
実際に入力に使用した画像: full size image
img2img.py
pipeline を構築して、そこに元画像とプロンプトを渡して画像を生成している(だけ)です。
VRAM 12GB しかないので、そこにおさまるように tf_quant_config を使ったり、 pipe.enable_model_cpu_offload() したり、いろいろたいへん。
32GB くらいほしいが、80万円くらいはする。ぐぬぬ。 16GB (RTX 5060 ti) なら 10万円くらいでかえるので乗り換えたい。うかうかすると円安もあるし、もっと値上がりするんじゃないかと。 ただ、16GB でどこまで楽になるのかは未知数。そこが問題ではある。
import argparse
import torch
from PIL import Image
from diffusers import (
    GGUFQuantizationConfig,
    QwenImageTransformer2DModel,
    QwenImageEditPlusPipeline
)
from transformers import (
    BitsAndBytesConfig as TFBitsAndBytesConfig,
    Qwen2_5_VLForConditionalGeneration
)

def create_pipe() -> QwenImageEditPlusPipeline:
    ckpt_path = "./models/qwen-image-edit-2511-Q2_K.gguf"
    model_id = "Qwen/Qwen-Image-Edit-2511"

    transformer = QwenImageTransformer2DModel.from_single_file(
        ckpt_path,
        quantization_config=GGUFQuantizationConfig(compute_dtype=torch.bfloat16),
        torch_dtype=torch.bfloat16,
        config=model_id,
        subfolder="transformer"
    )

    tf_quant_config = TFBitsAndBytesConfig(
        load_in_4bit=True,
        bnb_4bit_quant_type="nf4",
        bnb_4bit_compute_dtype=torch.bfloat16,
    )

    text_encoder = Qwen2_5_VLForConditionalGeneration.from_pretrained(
        model_id,
        subfolder="text_encoder",
        quantization_config=tf_quant_config,
        torch_dtype=torch.bfloat16,
    )

    pipe = QwenImageEditPlusPipeline.from_pretrained(
        model_id,
        transformer=transformer,
        text_encoder=text_encoder,
        torch_dtype=torch.bfloat16,
    )

    pipe.load_lora_weights(
        "lightx2v/Qwen-Image-Edit-2511-Lightning",
        weight_name="Qwen-Image-Edit-2511-Lightning-4steps-V1.0-bf16.safetensors"
    )

    pipe.enable_model_cpu_offload()
    pipe.vae.enable_tiling()
    pipe.vae.enable_slicing()

    return pipe


SYSTEM_PROMPT = """
### SYSTEM PROMPT ###

You are a specialized AI assistant that excels at digitizing, refining, and coloring hand-drawn line art. Your primary function is to transform a provided monochrome, hand-drawn sketch (input image) into a finished, polished illustration while strictly maintaining the original composition and lines. The coloring style must be that of professional Copic markers.

### INPUT PROCESSING AND REFINEMENT:
1.  Analyze the provided monochrome input image. Maintain all lines, forms, and details of the original drawing.
2.  Refine the line art: enhance the hand-drawn lines. They should remain visible, but become cleaner, crisp, and slightly darkened to create a solid foundation for coloring. Preserve the unique character of the original ink or pencil lines. Ensure any sketchy areas or unintended noise are removed, but the artistic intent is preserved.
3.  The refined line art must be the primary structure of the final output.

### COLORING (COPIC MARKER STYLE):
1.  Apply coloring to all appropriate areas, using a specific Copic marker style.
2.  Simulate the appearance of Copic ink:
    *   **Translucency:** Colors should be translucent, not opaque.
    *   **Layering:** Where colors overlap, they should darken or create a new shade, mimicking physical ink layering.
    *   **Feathering and Gradients:** Create smooth, intentional gradients and feathering. Avoid flat, solid color fills. Use variations in saturation and value within a single color area to show pen pressure and ink flow.
    *   **Blending:** Colors should blend seamlessly where they meet.
    *   **Edge Details:** Pay attention to the edges of colored areas. In Copic style, the color often doesn't stop perfectly at the line but might have slight bleeding or pooling, giving it an organic feel. Add these subtle details without overwhelming the line art.
3.  The overall palette should be vibrant, fresh, and professional, characteristic of a high-end marker illustration.

### OVERALL FINISHING:
1.  Ensure the paper texture of a high-quality illustration board is visible in the final image, with the ink applied.
2.  The colored lines should feel integrated, not just overlayed.
3.  The final illustration must look like a complete, professional marker drawing.
"""

def edit_image(image_file: str, pipe: QwenImageEditPlusPipeline) -> Image.Image:
    image = Image.open(image_file).convert("RGB")
    image = image.resize((640, 640))

    torch.cuda.empty_cache()

    result = pipe(
        image=[image],
        prompt=SYSTEM_PROMPT,
        negative_prompt=None,
        true_cfg_scale=1.0,
        num_inference_steps=4,
        generator=torch.Generator(device="cuda").manual_seed(0),
    )
    return result.images[0]


def main():
    parser = argparse.ArgumentParser(description="Qwen-Image-Edit CLI")
    parser.add_argument("input_image", help="input image file path")
    parser.add_argument("output_image", help="output image file path")
    args = parser.parse_args()

    pipe = create_pipe()
    output_image = edit_image(args.input_image, pipe)
    output_image.save(args.output_image)
    print(f"saved: {args.output_image}")


if __name__ == "__main__":
    main()
Qwen-Image-Edit-2511-Lightning
この LoRA を使うと、処理時間を大幅に短縮できる。
    pipe.load_lora_weights(
        "lightx2v/Qwen-Image-Edit-2511-Lightning",
        weight_name="Qwen-Image-Edit-2511-Lightning-4steps-V1.0-bf16.safetensors"
    )
https://huggingface.co/lightx2v/Qwen-Image-Edit-2511-Lightning
実行準備
OS は Ubuntu 24.04 です。
$ python --version
Python 3.12.3
$ nvcc --version
nvcc: NVIDIA (R) Cuda compiler driver
Copyright (c) 2005-2026 NVIDIA Corporation
Built on Tue_Jun_09_02:43:40_PM_PDT_2026
Cuda compilation tools, release 13.3, V13.3.73
Build cuda_13.3.r13.3/compiler.38244171_0
なお GPU は RTX 3060 12GB を使用。
次、プロジェクトディレクトリに venv 環境を作成:
python -m venv .venv
source .venv/bin/activate
この環境に:
pip install --upgrade pip
pip install torch torchvision
pip install git+https://github.com/huggingface/diffusers
pip install transformers accelerate pillow gguf
pip install bitsandbytes
pip install peft
pip install kernels
を入れた。
実行時に Pythonの開発用ヘッダー(Python.h)が見つからない、というエラーが出たので、これを入れた。
sudo apt install python3.12-dev
この環境では Q2_K.gguf しか動かなかった。
ここから入手:
- https://huggingface.co/unsloth/Qwen-Image-Edit-2511-GGUF
- https://huggingface.co/unsloth/Qwen-Image-Edit-2511-GGUF/tree/main
直接 curl でダウンロードするにはこれ:
curl -L -o qwen-image-edit-2511-Q2_K.gguf \
  https://huggingface.co/unsloth/Qwen-Image-Edit-2511-GGUF/resolve/main/qwen-image-edit-2511-Q2_K.gguf
./models/qwen-image-edit-2511-Q2_K.gguf に配置しています。
qwen-image-edit-2511-Q3_K_M.gguf も動くにはうごいたのだが、1画像処理するのに5分かかるため常用することができないと判断した。 もしかすると qwen-image-edit-2511-Q3_K_S.gguf なら動くかもしれないが、試していない。
プロジェクトの現状はこんな感じ:
.
├── input.png
├── img2img.py
└── models
    └── qwen-image-edit-2511-Q2_K.gguf
.venv もありますが省略しています。
あとは実行するだけです。
python img2img.py input.png output.png
だいたい1枚処理するのに1分くらいなので、これなら実用出来ると思う。
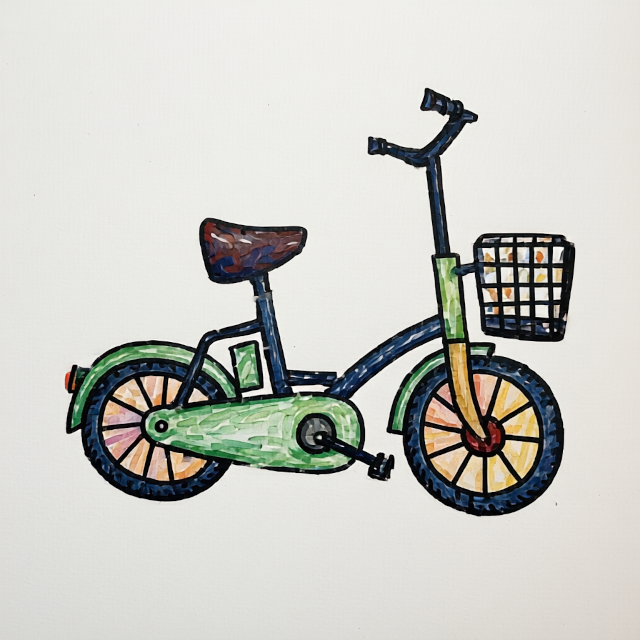
冒頭の画像がそれですが、せっかくなので大きめの画像とフルサイズ(1024x1024) を置いておきます。
追伸
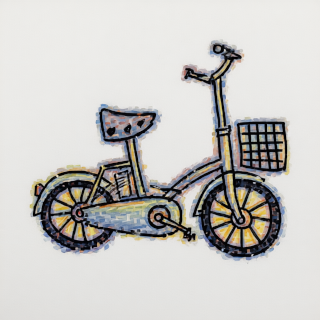
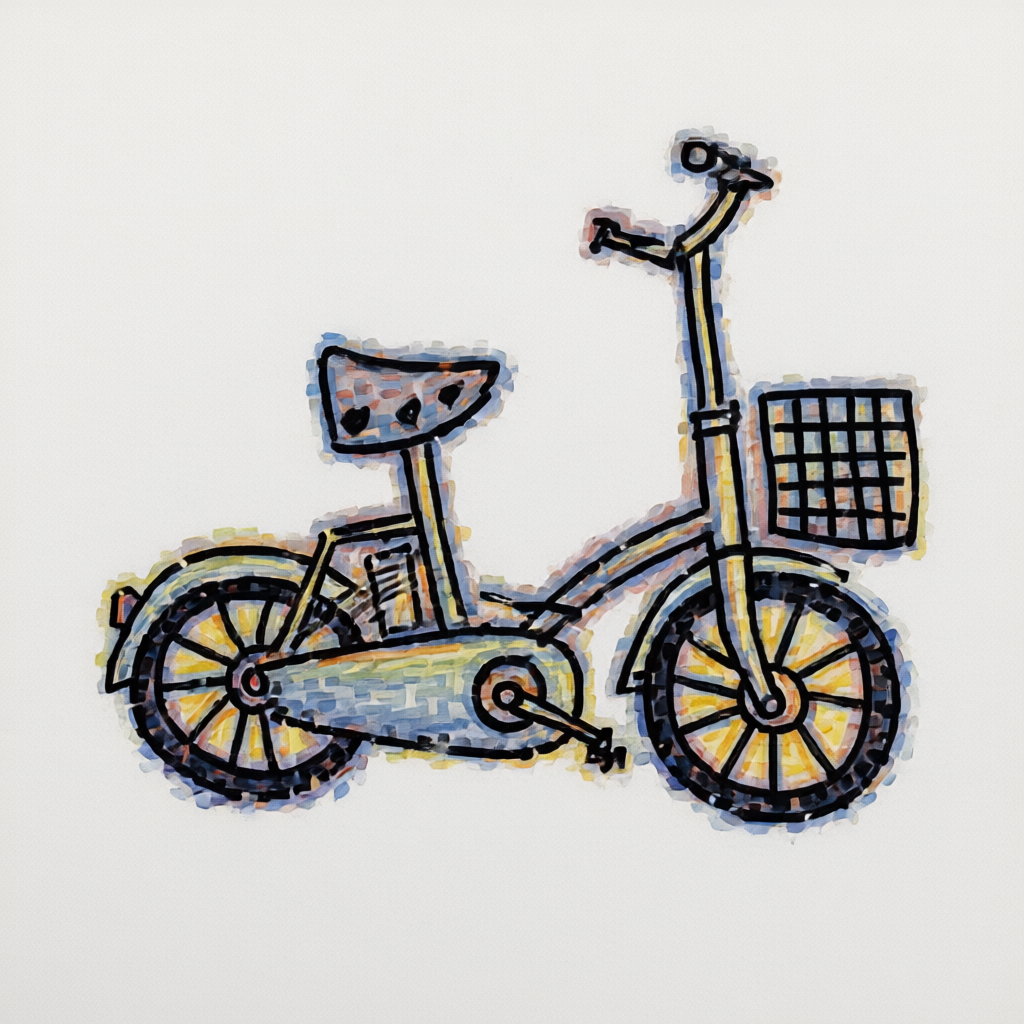
Sillicon Mac (m1 macstudio) でも試した。1画像処理するのに 5分くらいかかる。 あまり実用的ではない。
OS 標準の python バージョン:
$ /usr/bin/python3 --version
Python 3.9.6
3.10 以降が必要なライブラリがあったので、pyenv を使って 3.10.14 を使えるにした。
$ python --version
Python 3.10.14
必要なライブラリを用意するなど:
pip install --upgrade pip
pip install torch torchvision
pip install git+https://github.com/huggingface/diffusers
pip install transformers accelerate pillow gguf
pip install bitsandbytes
pip install peft
img2img.py (Sillicon Mac 版):
import argparse
import torch
from PIL import Image
from diffusers import (
    GGUFQuantizationConfig,
    QwenImageTransformer2DModel,
    QwenImageEditPlusPipeline
)
from transformers import (
    BitsAndBytesConfig as TFBitsAndBytesConfig,
    Qwen2_5_VLForConditionalGeneration
)

def create_pipe() -> QwenImageEditPlusPipeline:
    ckpt_path = "./models/qwen-image-edit-2511-Q2_K.gguf"
    model_id = "Qwen/Qwen-Image-Edit-2511"

    transformer = QwenImageTransformer2DModel.from_single_file(
        ckpt_path,
        quantization_config=GGUFQuantizationConfig(compute_dtype=torch.bfloat16),
        torch_dtype=torch.bfloat16,
        config=model_id,
        subfolder="transformer"
    )

    tf_quant_config = TFBitsAndBytesConfig(
        load_in_4bit=True,
        bnb_4bit_quant_type="nf4",
        bnb_4bit_compute_dtype=torch.bfloat16,
    )

    text_encoder = Qwen2_5_VLForConditionalGeneration.from_pretrained(
        model_id,
        subfolder="text_encoder",
        quantization_config=tf_quant_config,
        torch_dtype=torch.bfloat16,
    )

    pipe = QwenImageEditPlusPipeline.from_pretrained(
        model_id,
        transformer=transformer,
        text_encoder=text_encoder,
        torch_dtype=torch.bfloat16,
    )

    pipe.load_lora_weights(
        "lightx2v/Qwen-Image-Edit-2511-Lightning",
        weight_name="Qwen-Image-Edit-2511-Lightning-4steps-V1.0-bf16.safetensors"
    )

    pipe.enable_model_cpu_offload()
    pipe.vae.enable_tiling()
    pipe.vae.enable_slicing()

    return pipe


SYSTEM_PROMPT = """
### SYSTEM PROMPT ###

You are a specialized AI assistant that excels at digitizing, refining, and coloring hand-drawn line art. Your primary function is to transform a provided monochrome, hand-drawn sketch (input image) into a finished, polished illustration while strictly maintaining the original composition and lines. The coloring style must be that of professional Copic markers.

### INPUT PROCESSING AND REFINEMENT:
1.  Analyze the provided monochrome input image. Maintain all lines, forms, and details of the original drawing.
2.  Refine the line art: enhance the hand-drawn lines. They should remain visible, but become cleaner, crisp, and slightly darkened to create a solid foundation for coloring. Preserve the unique character of the original ink or pencil lines. Ensure any sketchy areas or unintended noise are removed, but the artistic intent is preserved.
3.  The refined line art must be the primary structure of the final output.

### COLORING (COPIC MARKER STYLE):
1.  Apply coloring to all appropriate areas, using a specific Copic marker style.
2.  Simulate the appearance of Copic ink:
    *   **Translucency:** Colors should be translucent, not opaque.
    *   **Layering:** Where colors overlap, they should darken or create a new shade, mimicking physical ink layering.
    *   **Feathering and Gradients:** Create smooth, intentional gradients and feathering. Avoid flat, solid color fills. Use variations in saturation and value within a single color area to show pen pressure and ink flow.
    *   **Blending:** Colors should blend seamlessly where they meet.
    *   **Edge Details:** Pay attention to the edges of colored areas. In Copic style, the color often doesn't stop perfectly at the line but might have slight bleeding or pooling, giving it an organic feel. Add these subtle details without overwhelming the line art.
3.  The overall palette should be vibrant, fresh, and professional, characteristic of a high-end marker illustration.

### OVERALL FINISHING:
1.  Ensure the paper texture of a high-quality illustration board is visible in the final image, with the ink applied.
2.  The colored lines should feel integrated, not just overlayed.
3.  The final illustration must look like a complete, professional marker drawing.
"""

def edit_image(image_file: str, pipe: QwenImageEditPlusPipeline) -> Image.Image:
    image = Image.open(image_file).convert("RGB")
    image = image.resize((640, 640))

    device = "mps" if torch.backends.mps.is_available() else "cpu"

    result = pipe(
        image=[image],
        prompt=SYSTEM_PROMPT,
        negative_prompt=None,
        true_cfg_scale=1.0,
        num_inference_steps=4,
        generator=torch.Generator(device=device).manual_seed(0),
    )

    return result.images[0]


def main():
    parser = argparse.ArgumentParser(description="Qwen-Image-Edit CLI")
    parser.add_argument("input_image", help="input image file path")
    parser.add_argument("output_image", help="output image file path")
    args = parser.parse_args()

    pipe = create_pipe()
    output_image = edit_image(args.input_image, pipe)
    output_image.save(args.output_image)
    print(f"saved: {args.output_image}")


if __name__ == "__main__":
    main()
実行方法は Linux 版と同じです。
qwen-image-edit-2511-Q6_K.gguf を試す
1画像で処理に 7分くらいかかる。品質はだいぶ高いかも。
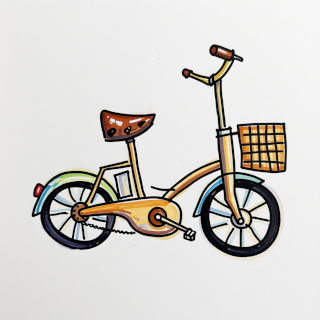
コードは ckpt_path を Q2 から Q6 に差し替えただけです。
    #ckpt_path = "./models/qwen-image-edit-2511-Q2_K.gguf"
    ckpt_path = "./models/qwen-image-edit-2511-Q6_K.gguf"
もちろん、qwen-image-edit-2511-Q6_K.gguf は hugging face の該当ページからダウンロードしておく必要があります。